How to integrate with Klaviyo:
A Step-by-Step Guide
This guide walks you through the seamless integration of Heartland Retail’s customer ticket history with Klaviyo’s marketing automation. You’ll learn how to connect both systems, map historical ticket and customer data, and use past purchase patterns to trigger targeted email and SMS flows—empowering you to enhance engagement and revenue insights with minimal manual effort.
Integration configuration Steps
-
Visit the Integration Portal
Head over to https://heartland.bestworlds.com/integrate and open the page.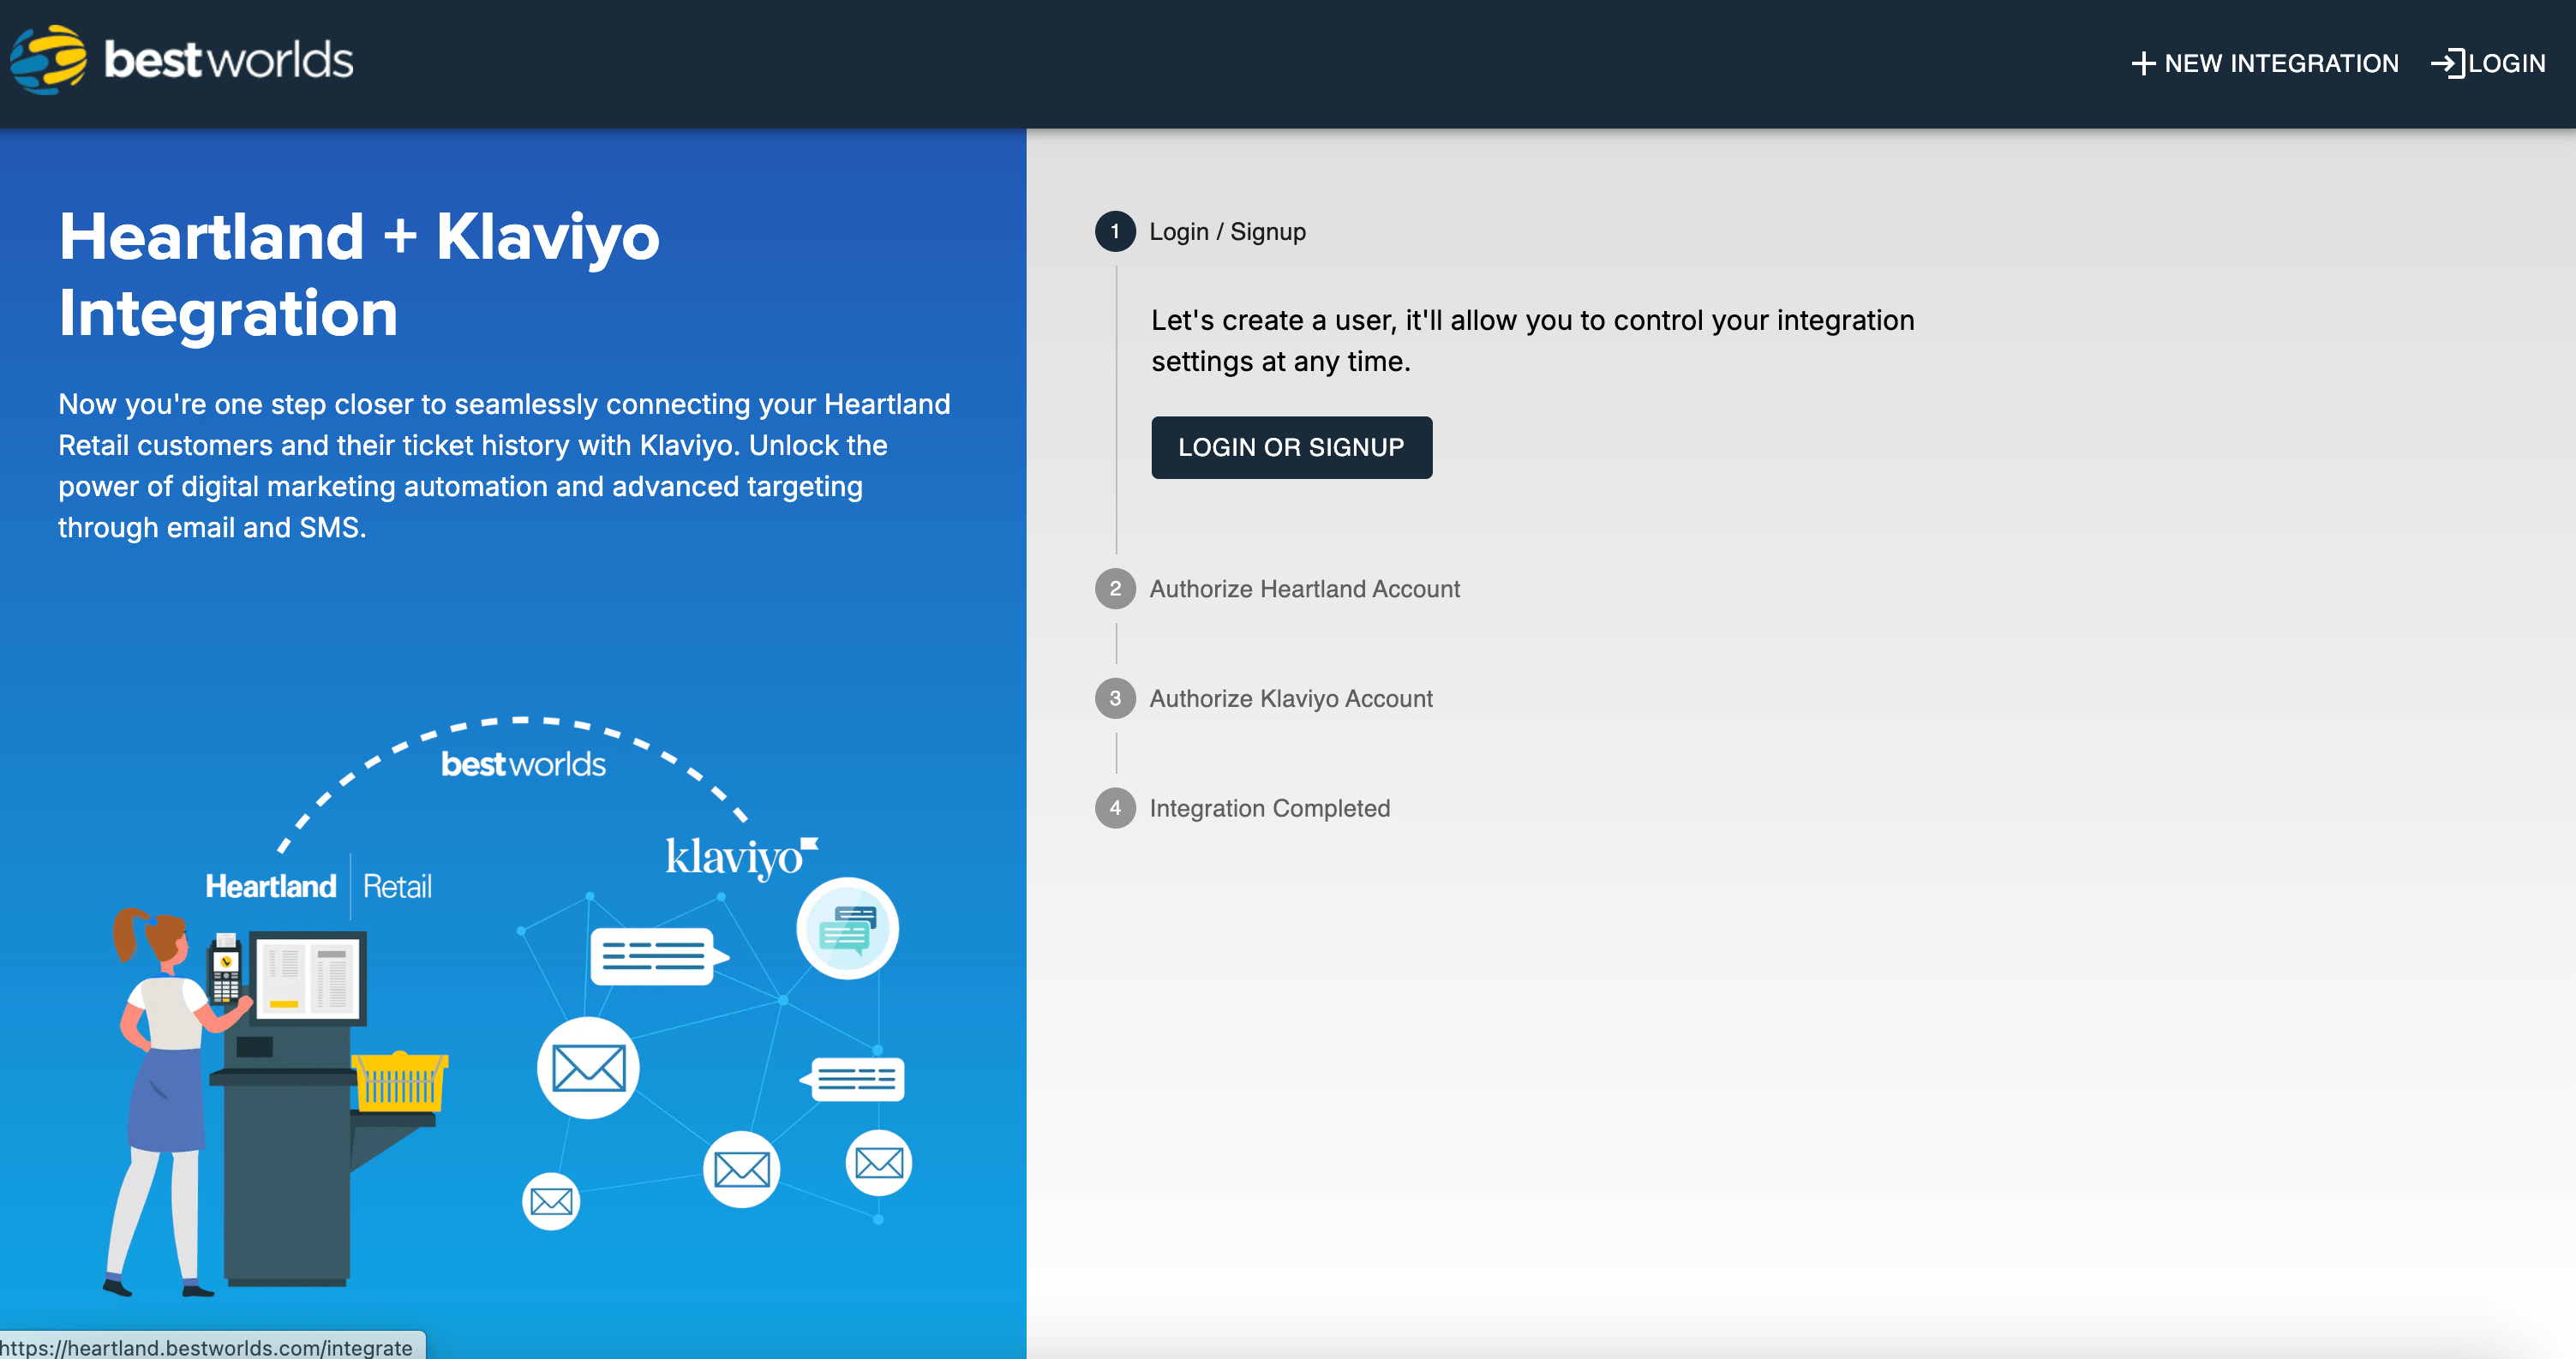
-
Log In or Sign Up
Enter your email and password, or click Continue with Google.
If your account doesn’t yet exist in our system, either option will automatically create a new user for you.
-
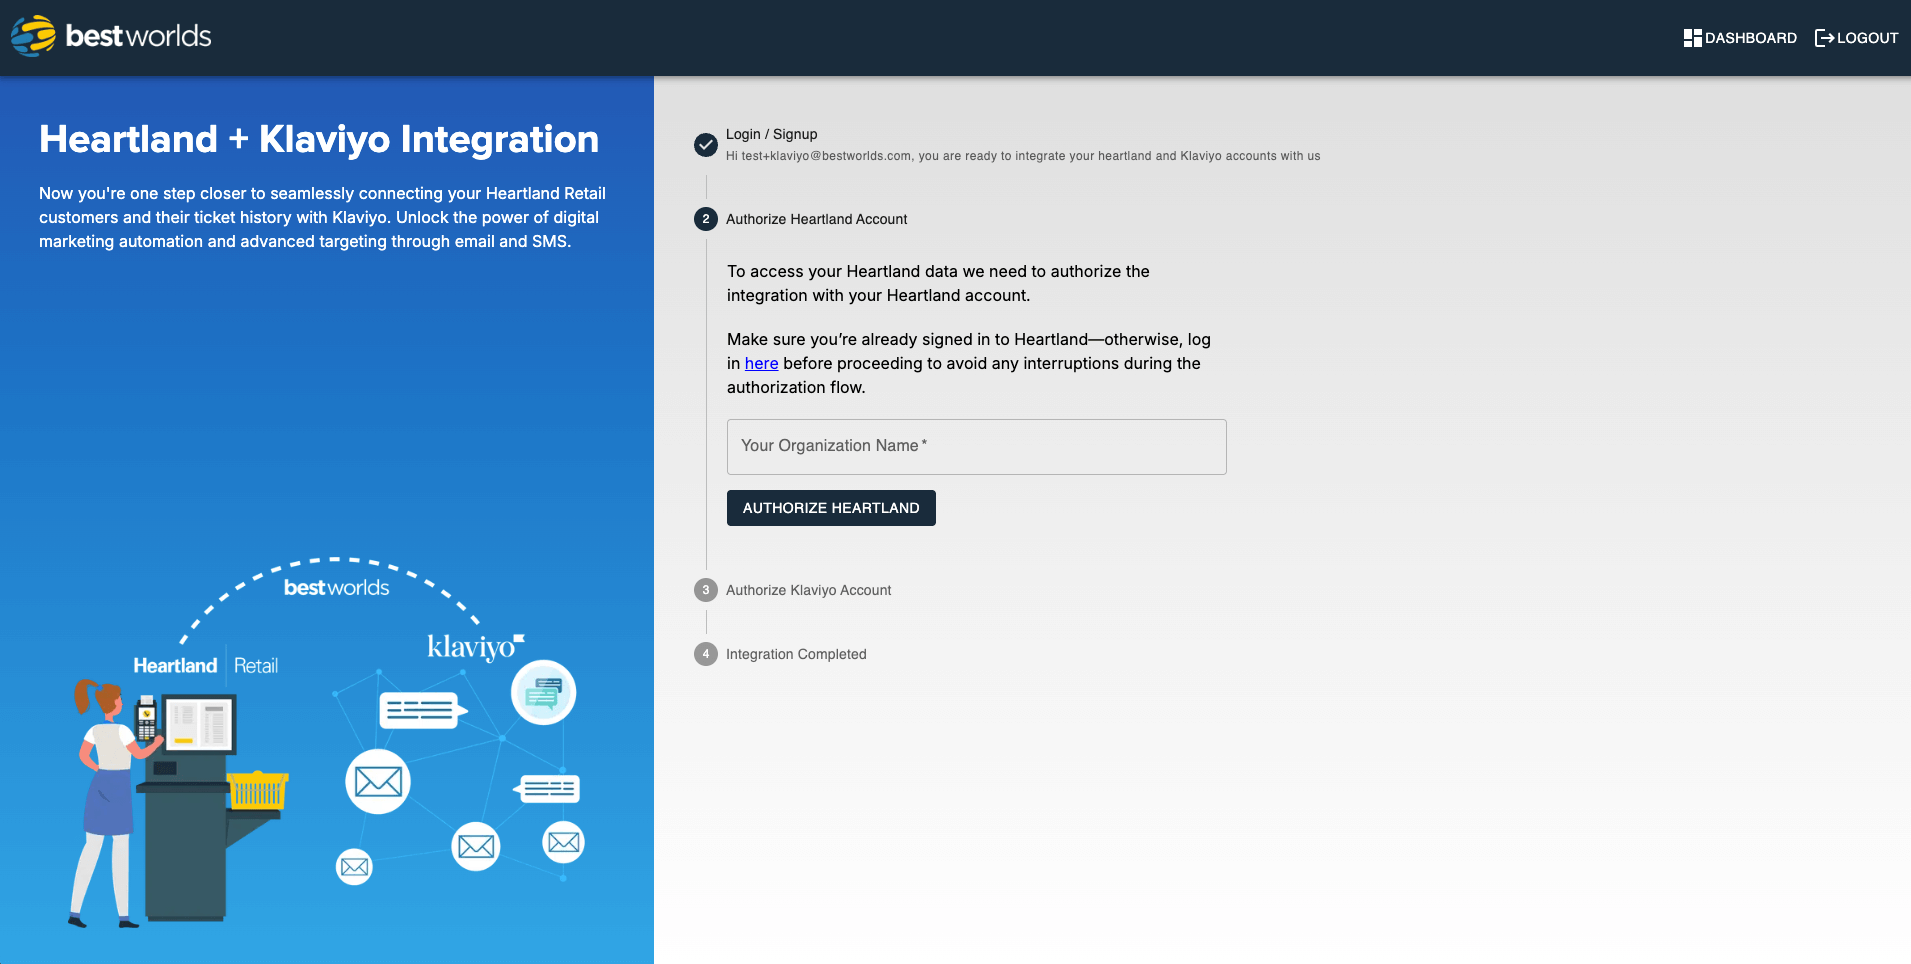
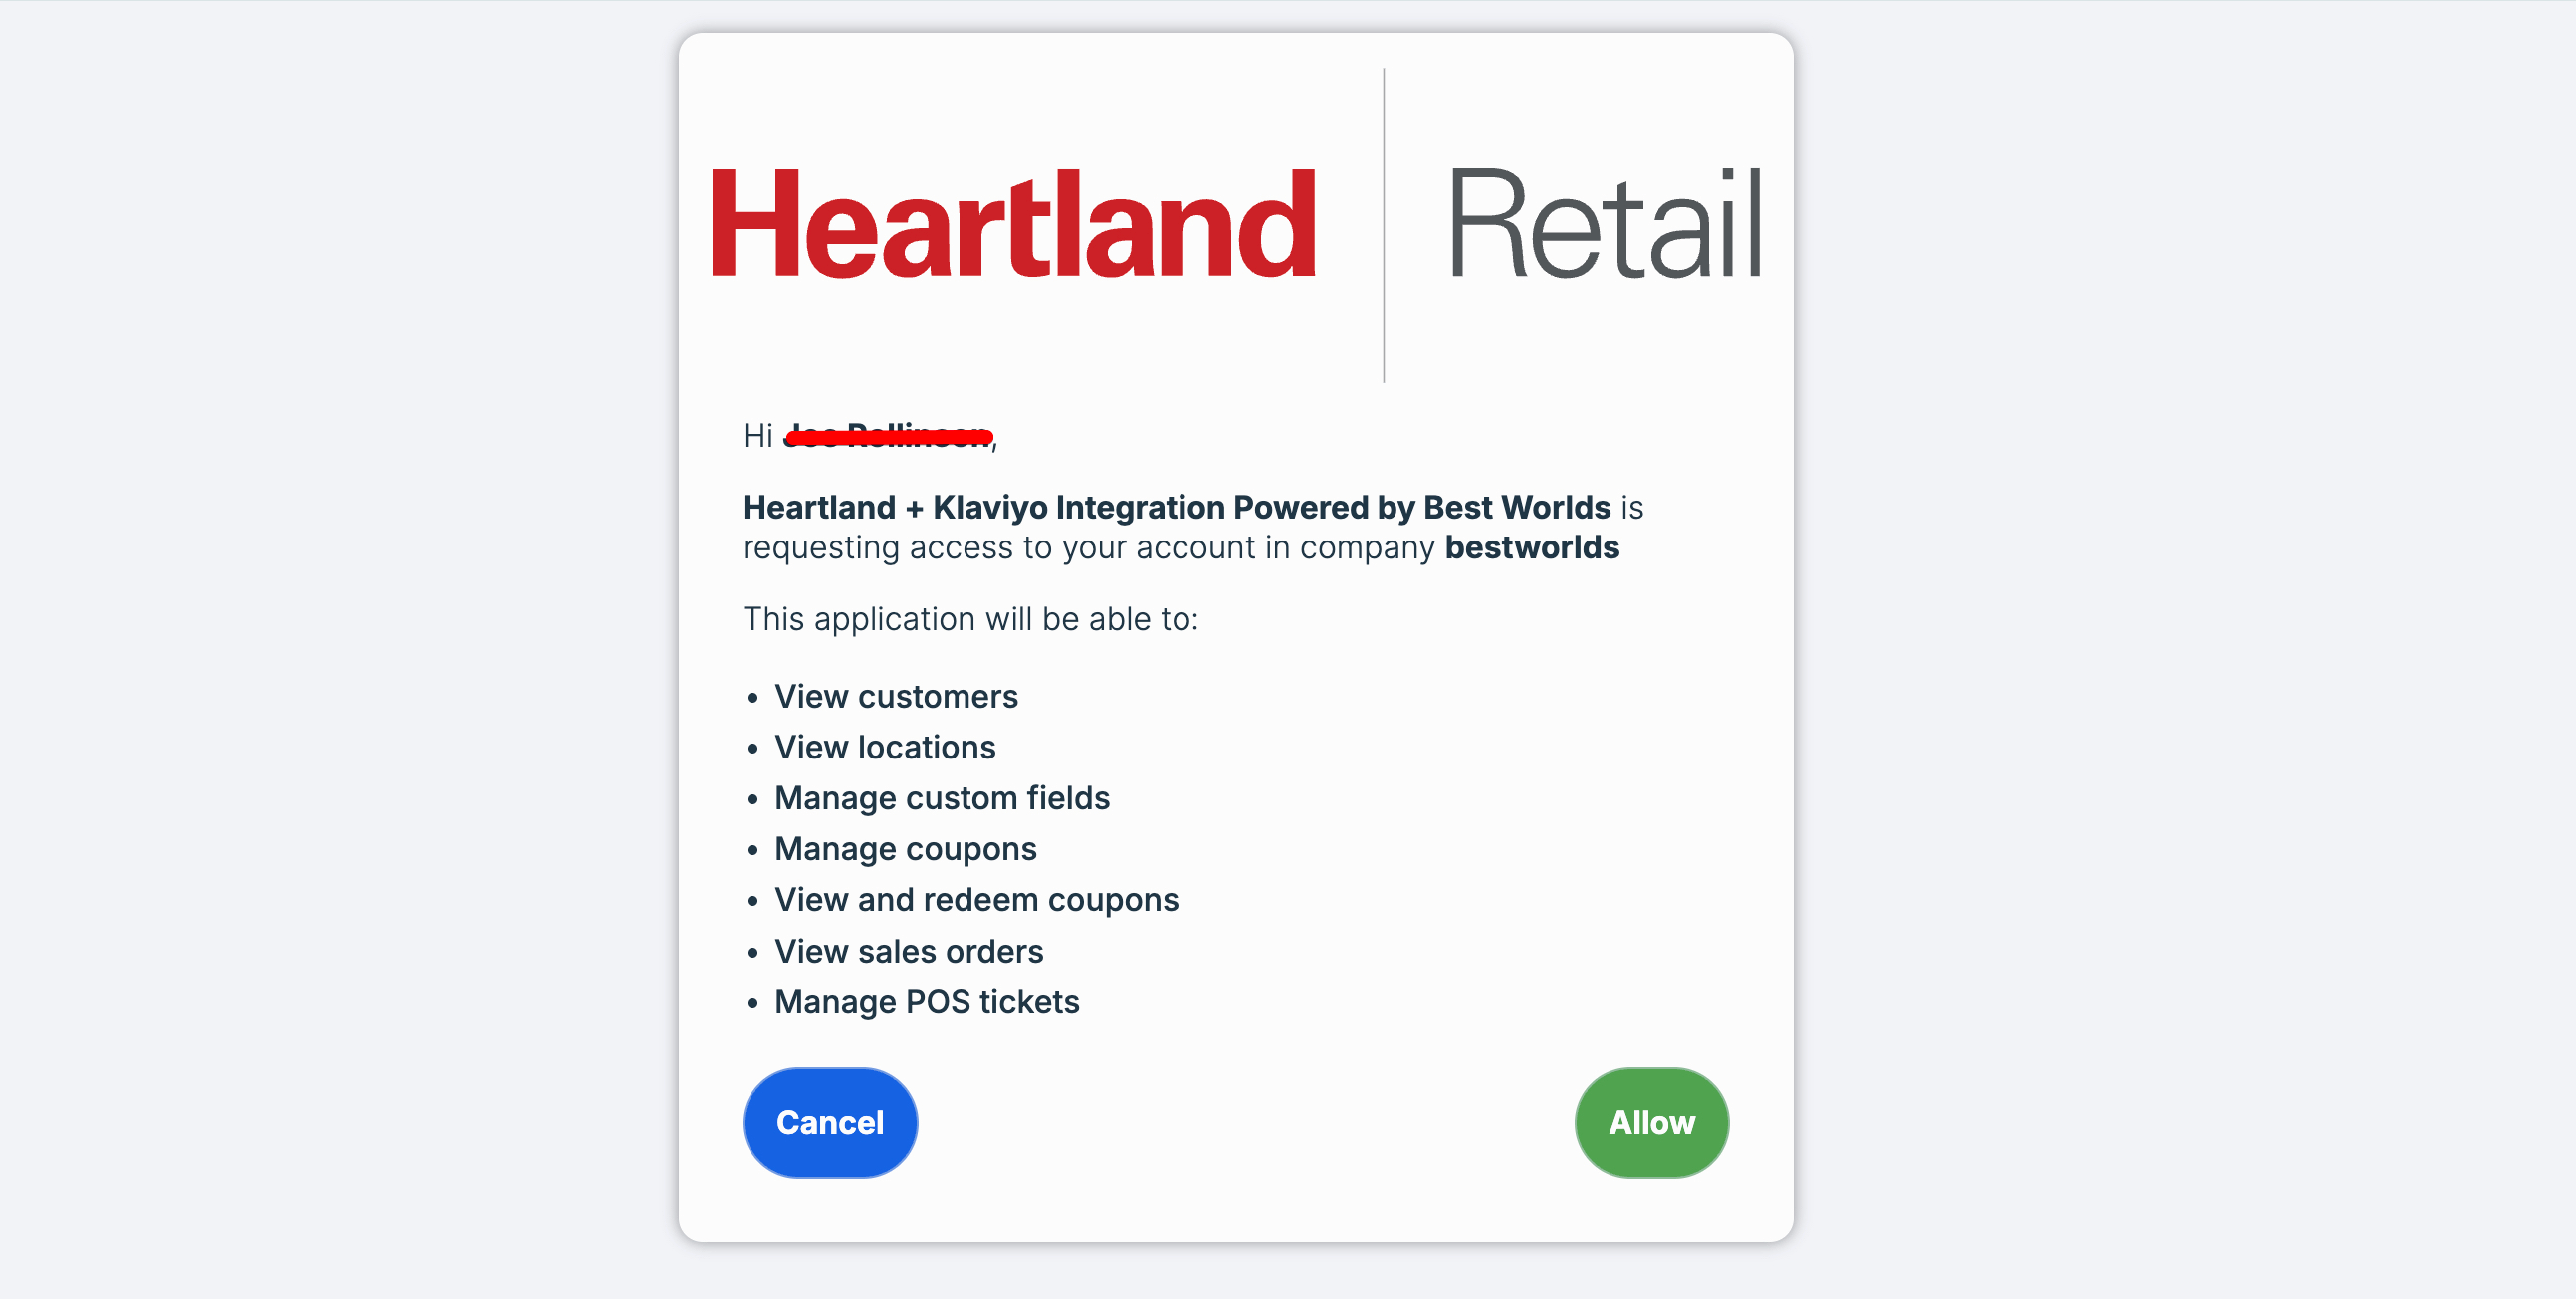
Authorize Heartland
Once you’re in, click Connect Heartland and follow the OAuth flow to grant our integration app access to your Heartland Retail customer and ticket history.
Make sure you're already signed in to Heartland—otherwise, log in here before proceeding to avoid any interruptions during the authorization flow.
-
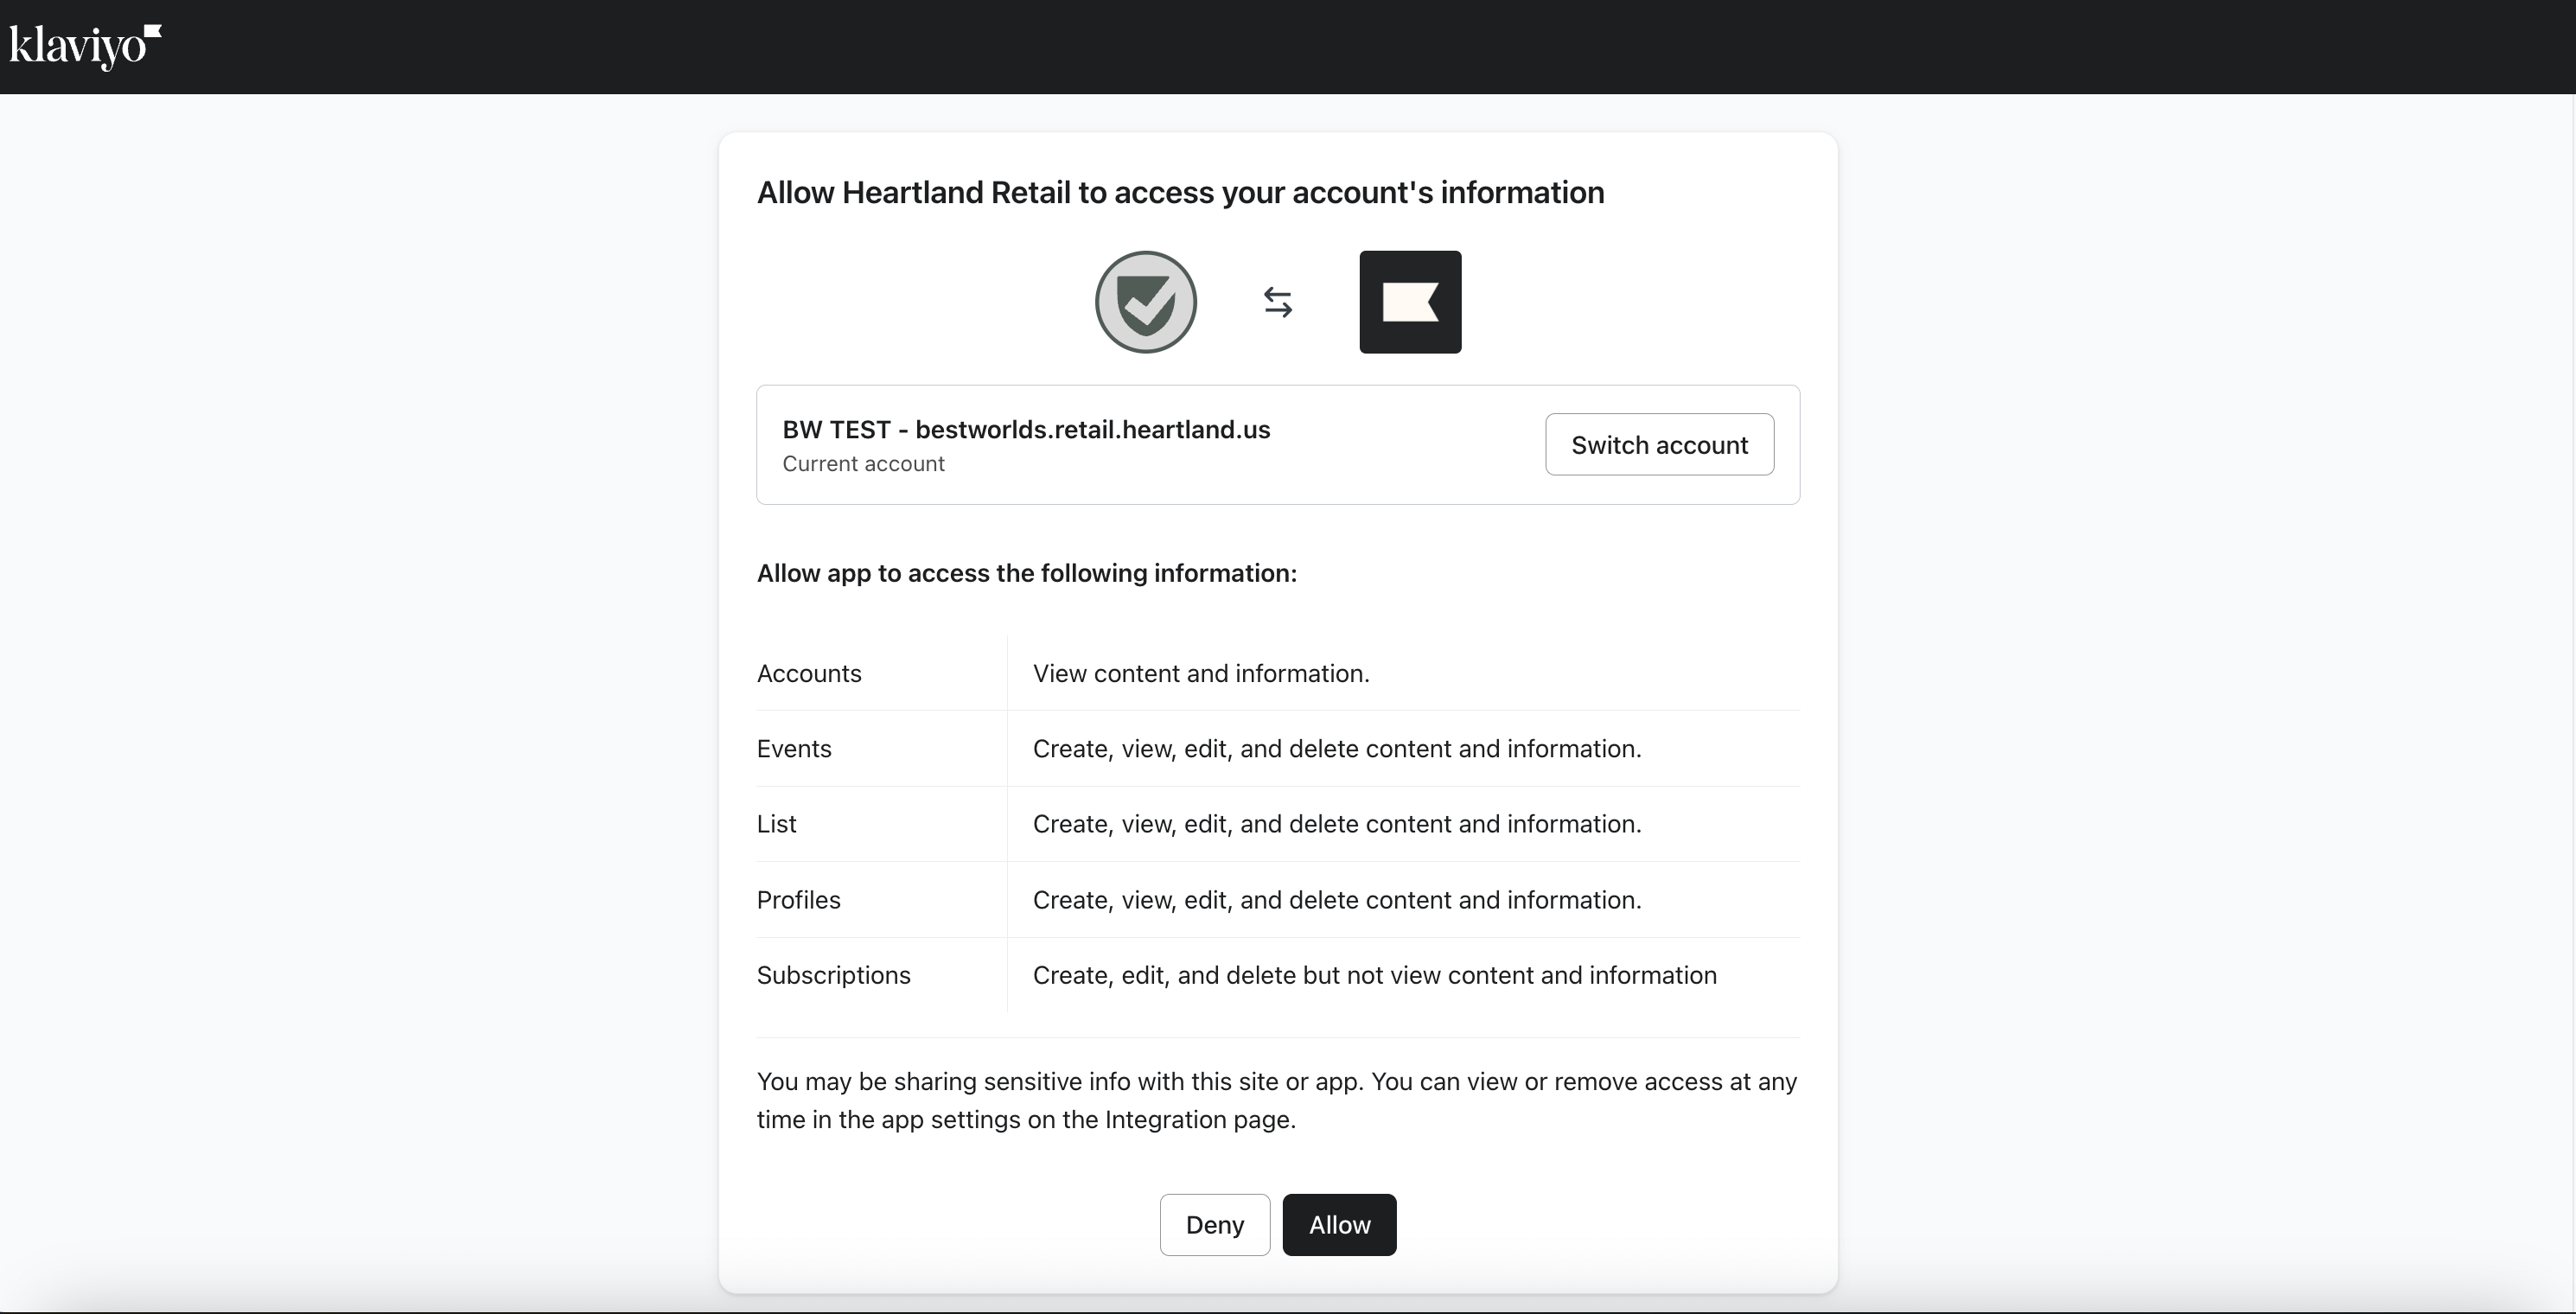
Authorize Klaviyo
Next, click Connect Klaviyo and complete the authorization steps so we can push and pull data into your Klaviyo account.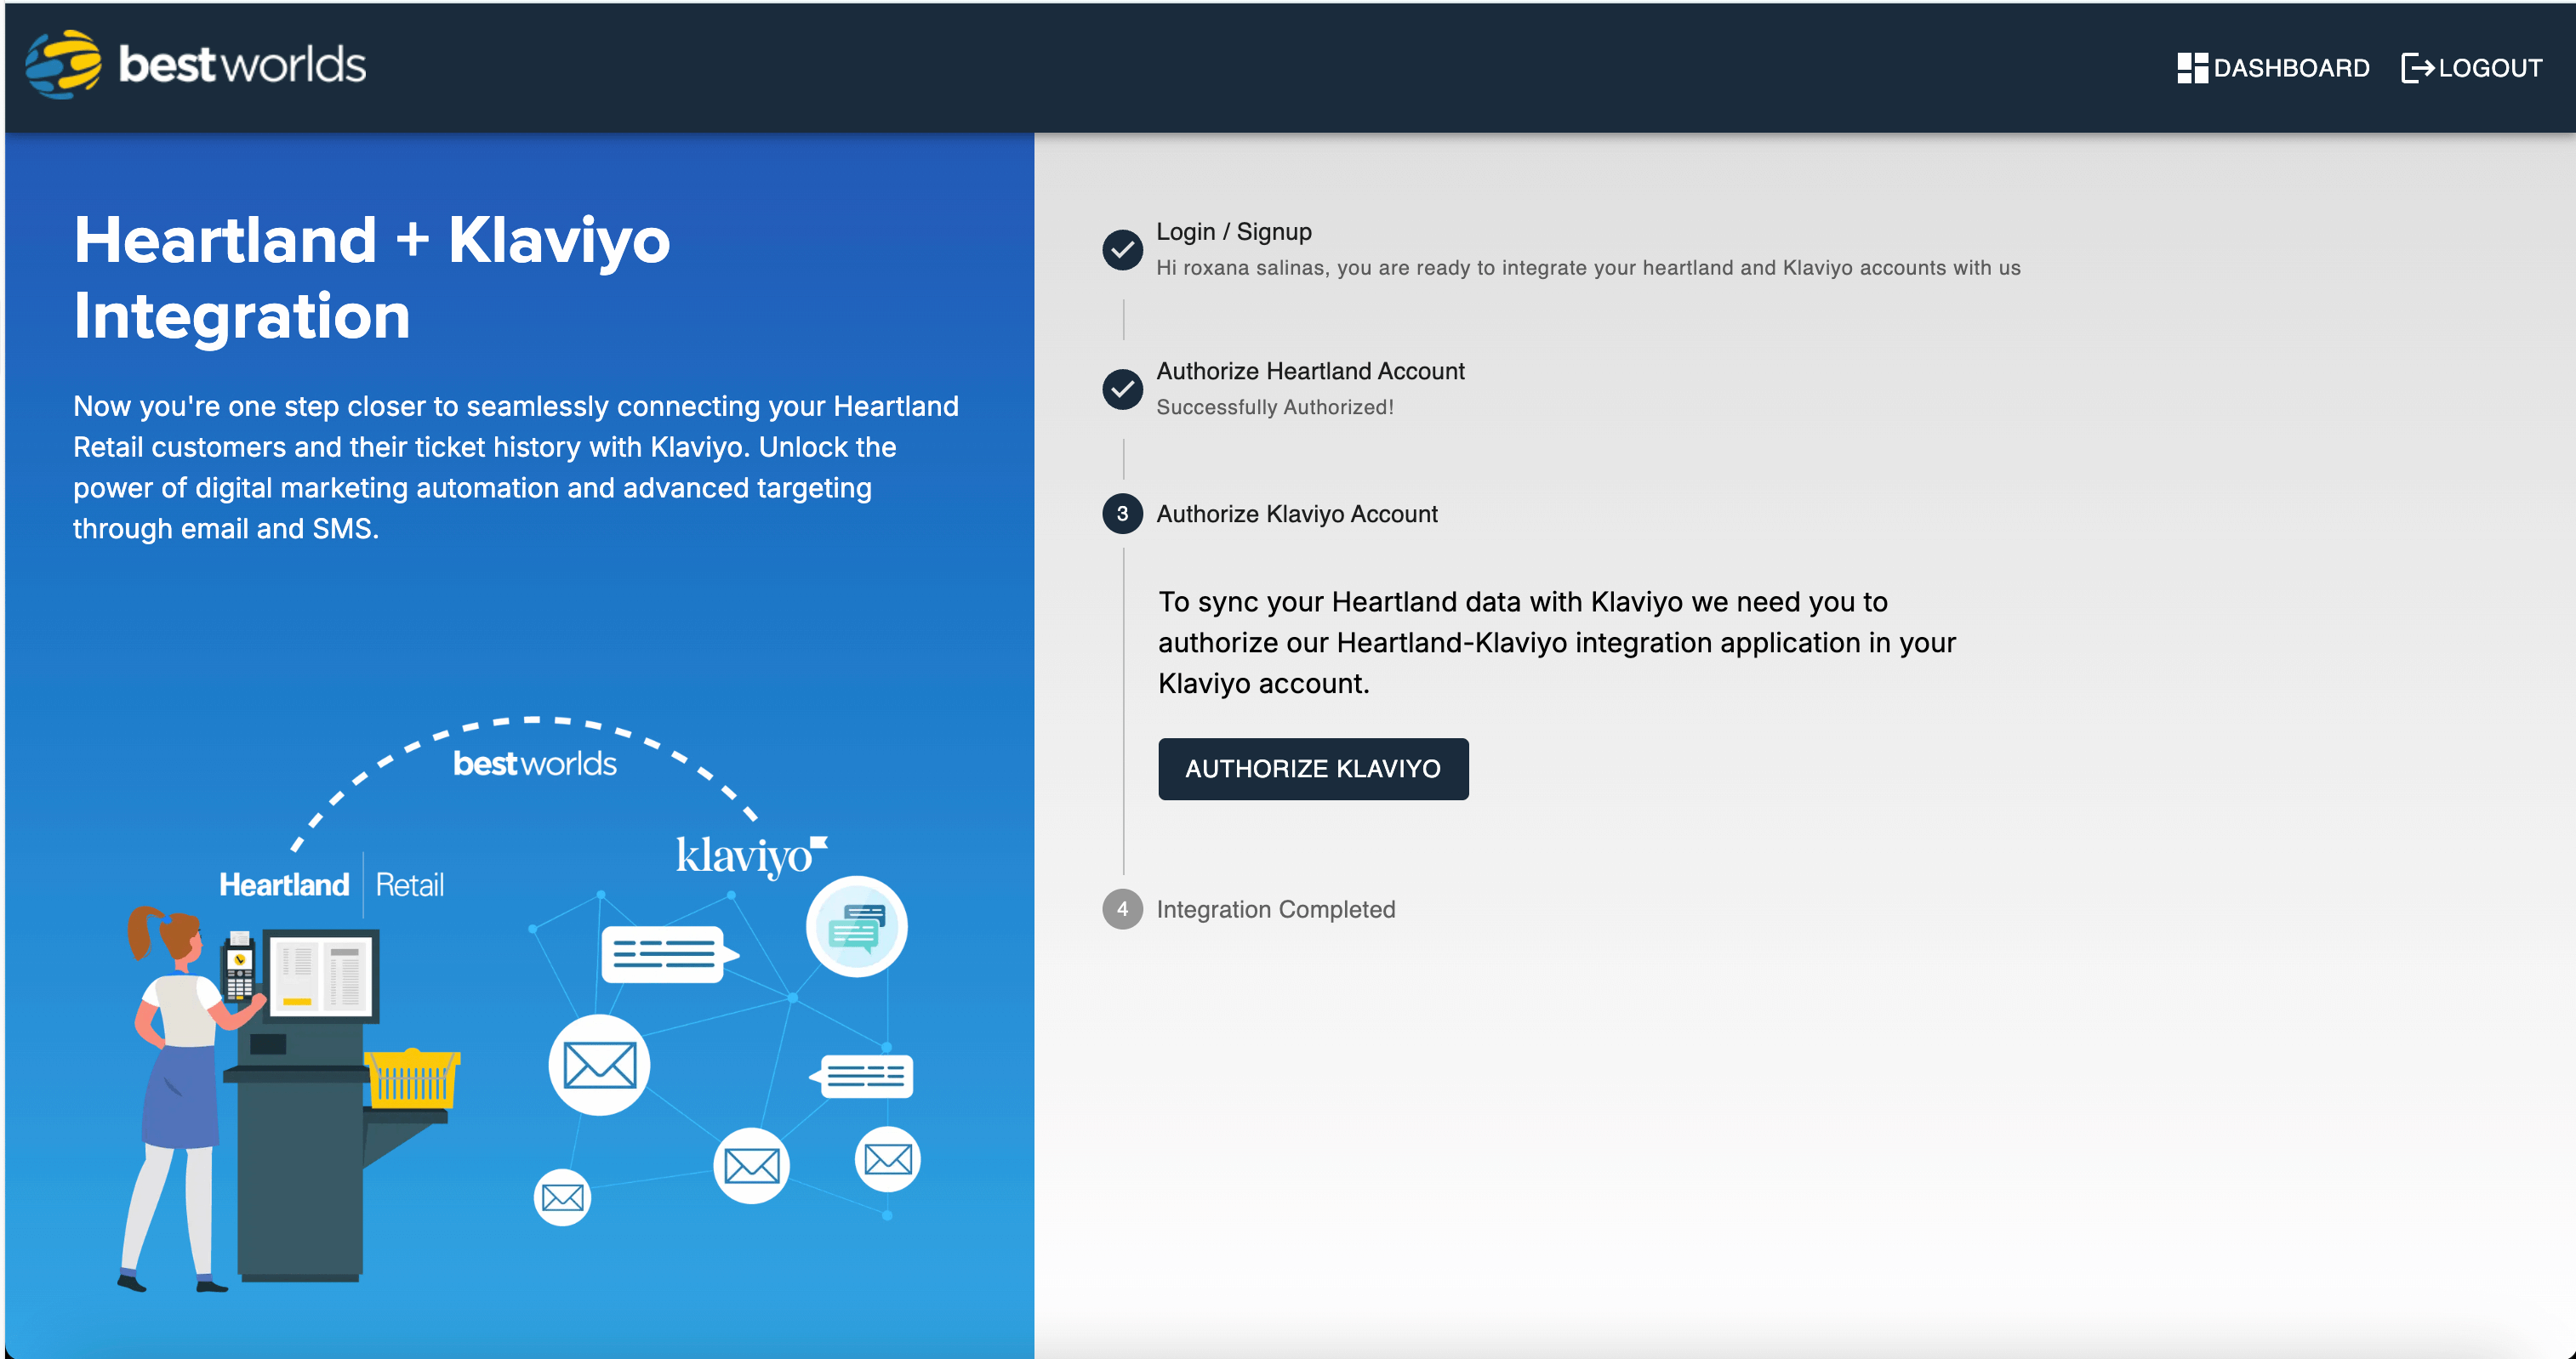
-
Go to Dashboard
After authorization, click Go to Dashboard to view your integration status.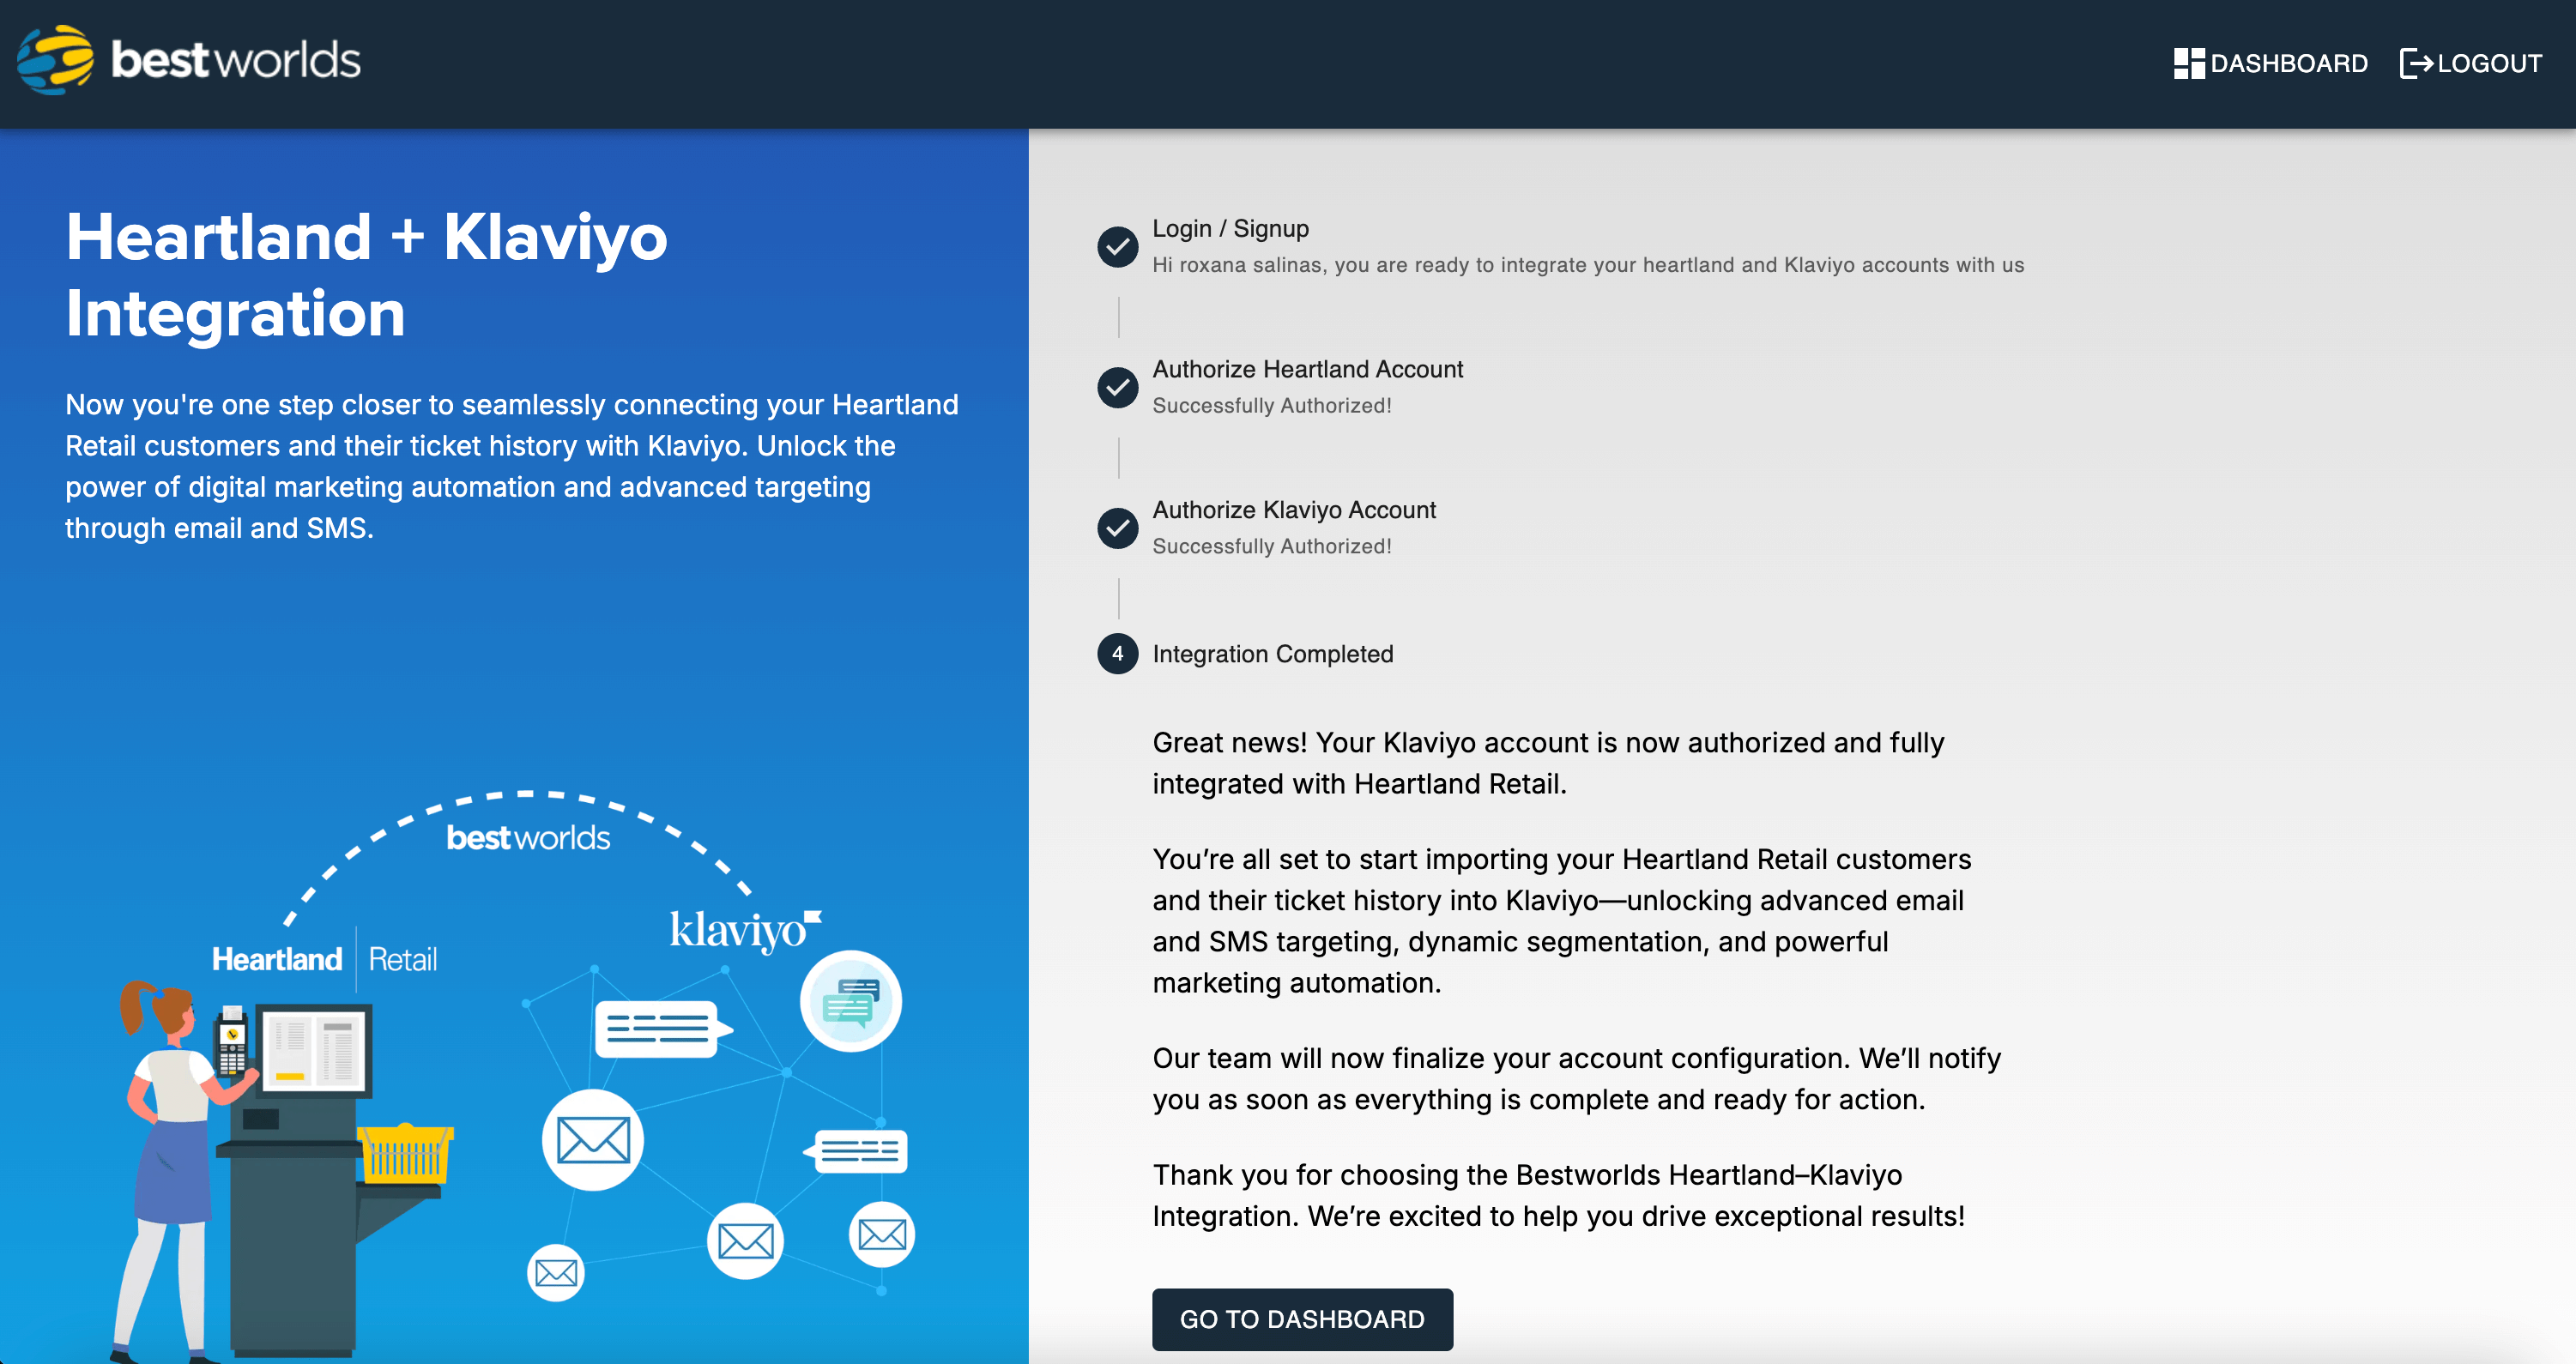
-
Data Mapping Review
After both connections are live, our team will review your setup and reach out to you to finalize how each Heartland field (e.g. Ticket ID, Customer Email, Purchase Date) maps into Klaviyo properties and events. -
Historical Import (Optional)
Once you approve the assignment, we will initiate a historical import of your tickets, orders and current customers, so you can immediately leverage the old purchase data in your Klaviyo flows. -
Enable Daily Sync
Finally, we’ll turn on daily synchronization. From then on, every new ticket and customer update in Heartland will automatically flow into Klaviyo, keeping your lists and segments up to date.
Revoke Klaviyo Connection
-
From the Heartland Klaviyo Integration screen
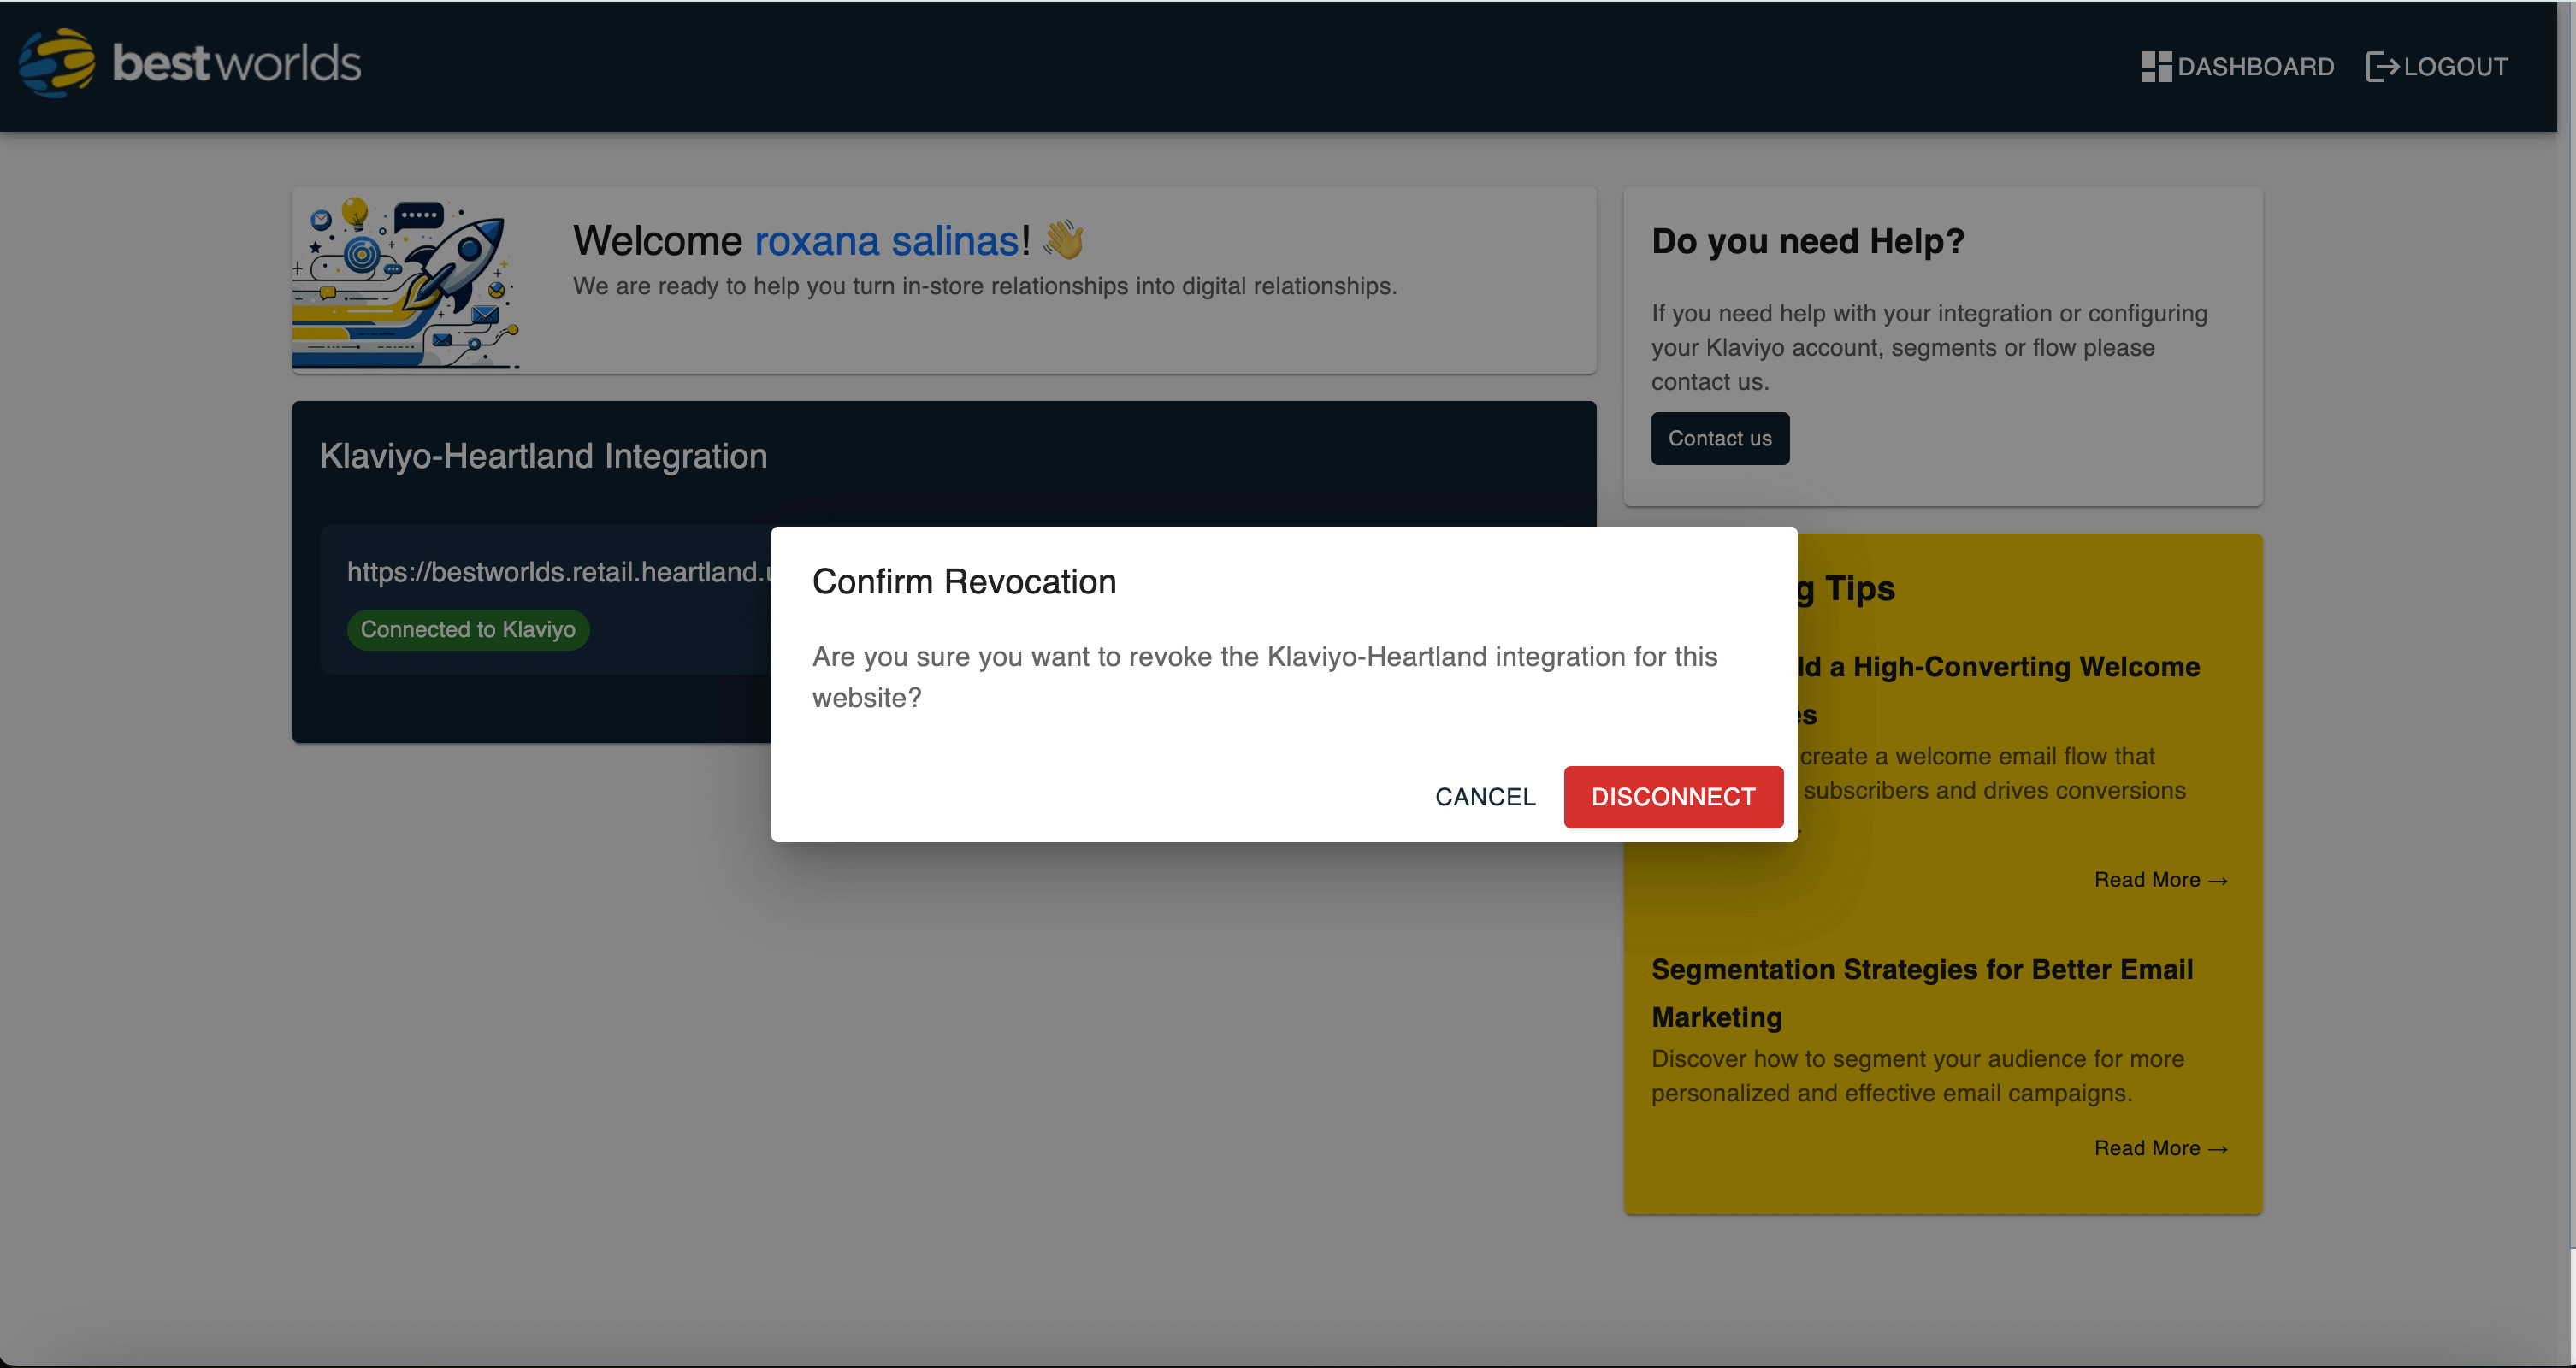
Go to the dashb oard screen and in the Integration teaser, click in the "Disconnect" button.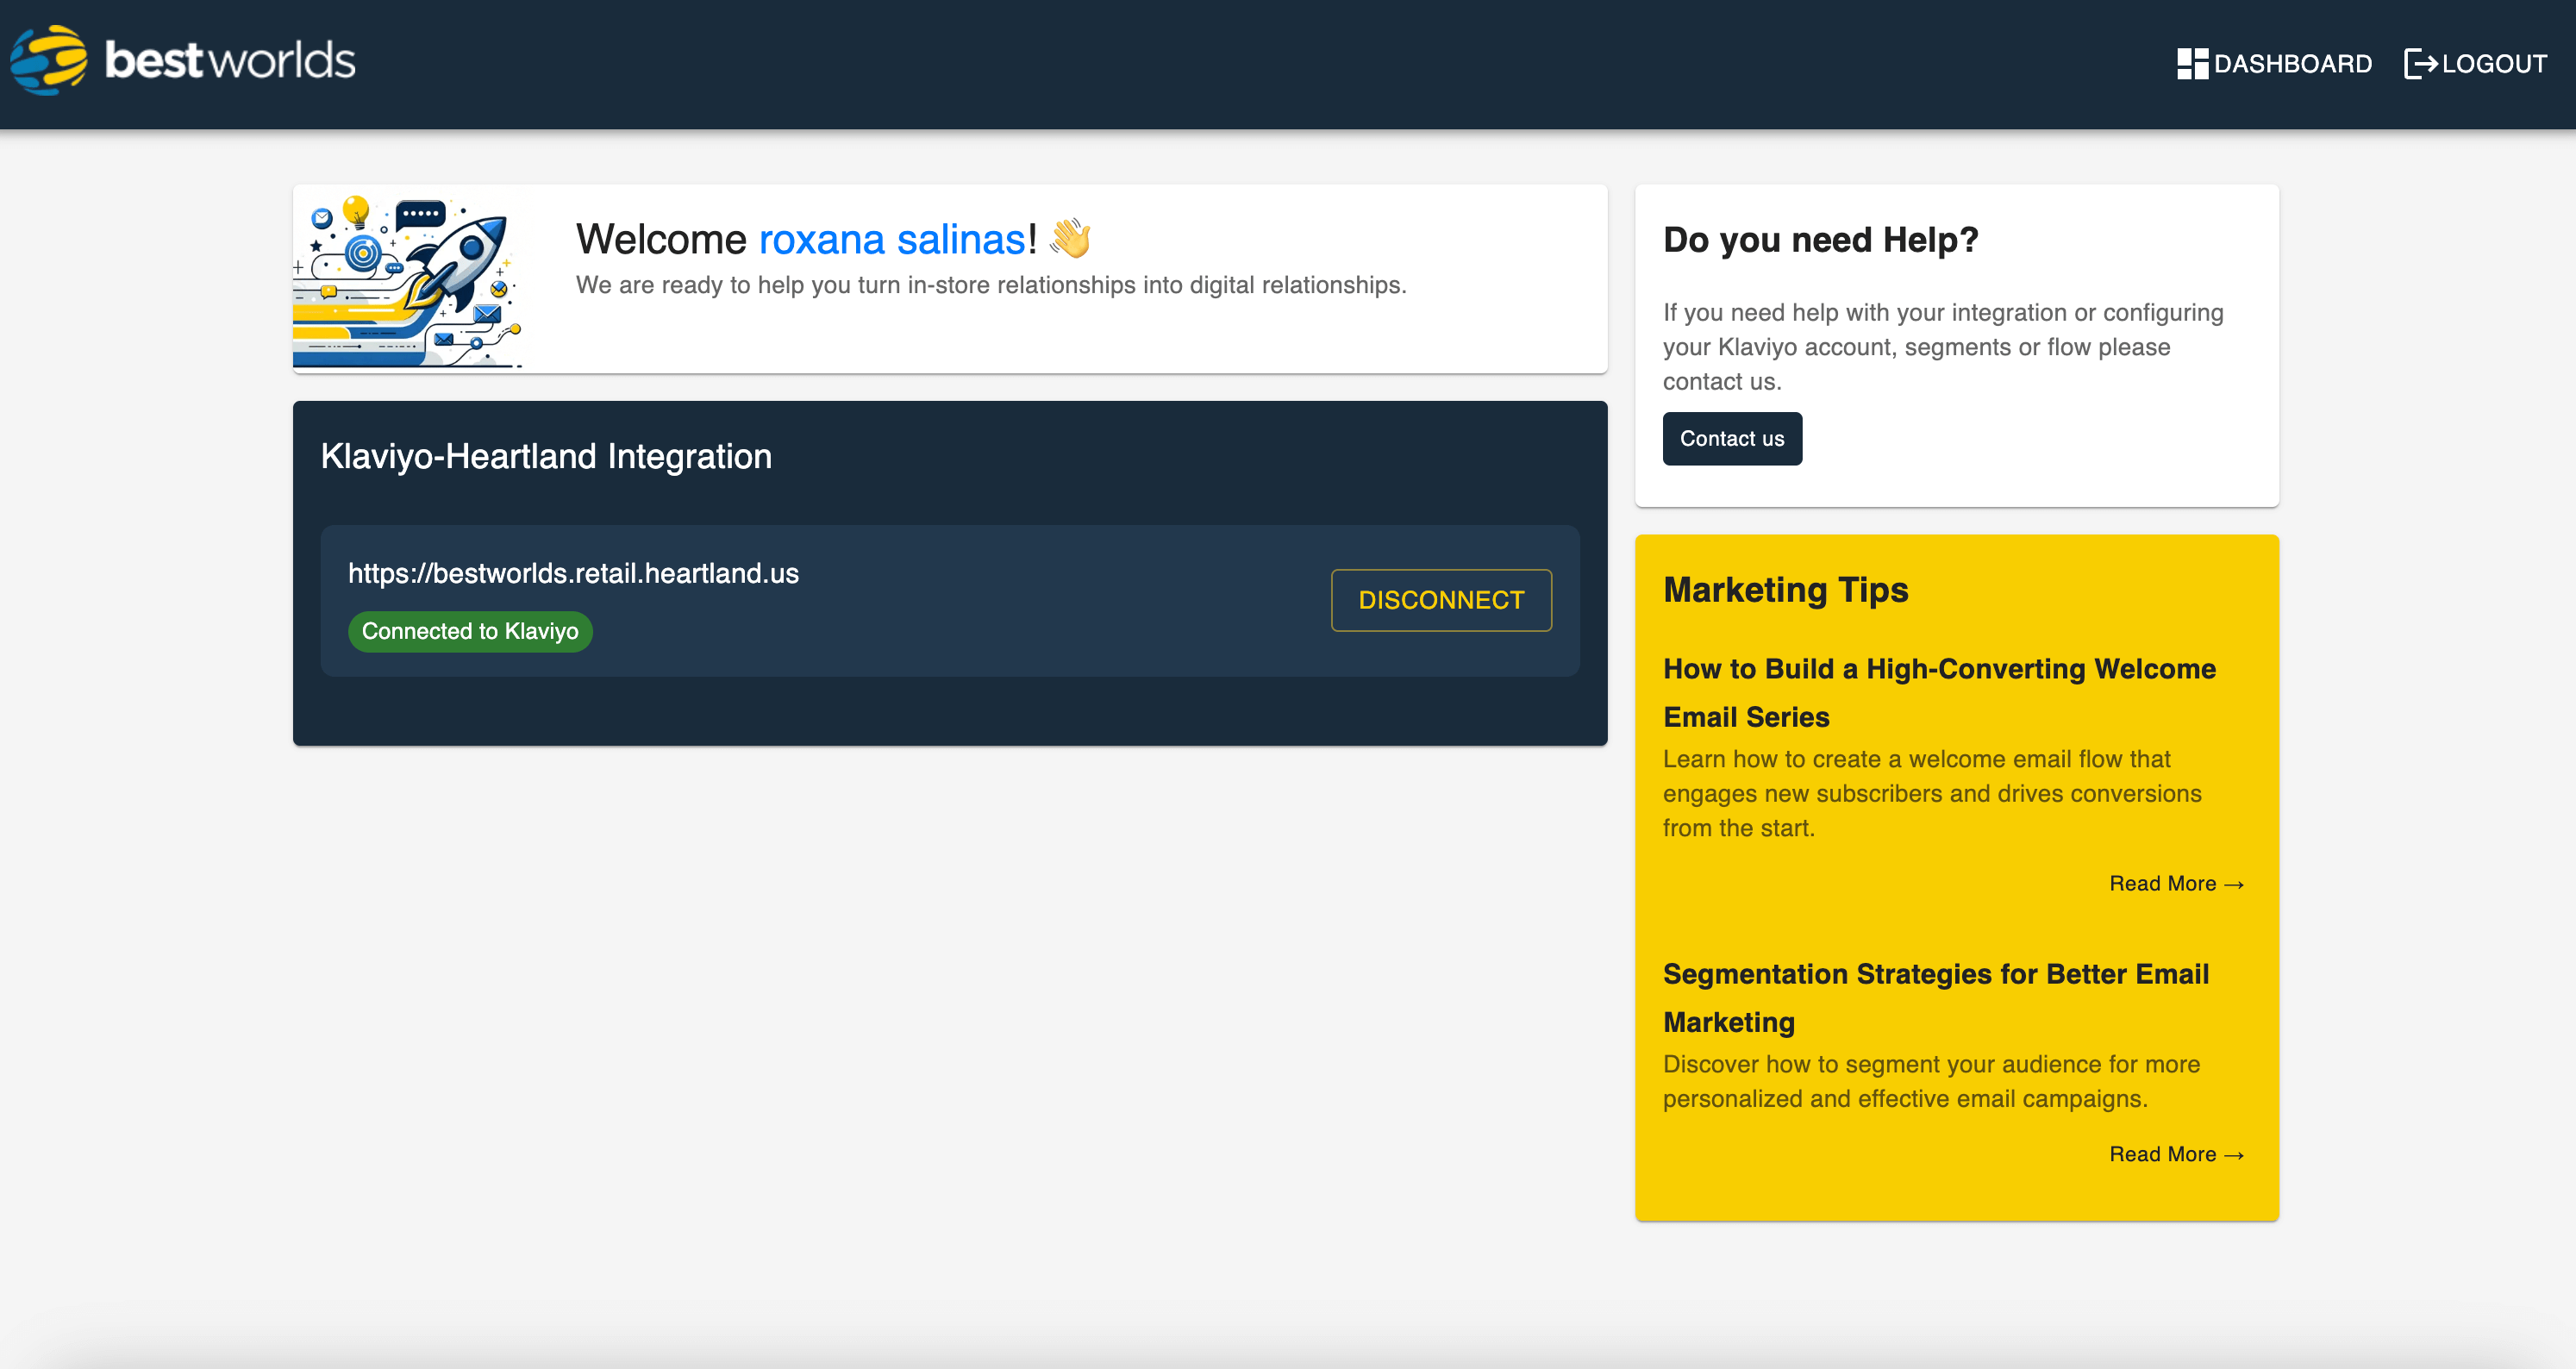
-
Confirm Revocation
From the "Confirm Revocation" pprompt, click in "Disconnect".